
In this post, we’ll detail how we set up Tor on HardenedBSD. Because of HardenedBSD’s innovative approach to security, including the adoption of strong next-gen exploit mitigations like SafeStack and CFI. We’ll use HardenedBSD 11-STABLE. The vast majority of Tor infrastructure nodes run Linux and OpenSSL. Emerald Onion believes running HardenedBSD will help improve the diversity and resiliency of the Tor network. Additionally, running HardenedBSD gives us peace of mind due to its expertly crafted, robust, and scalable exploit mitigations. Together, Emerald Onion and HardenedBSD are working towards a safer and more secure Tor network.
This article should be considered a living document. We’ll keep it up-to-date as HardenedBSD and Emerald Onion evolve.
02 Sep 2018: This page is being updated to better reflect our ever-evolving setup. Please note that this update may take days. Sections of this page may be incomplete. We will update with another note once the documentation update is complete.
Initial Steps
Downloading and installing HardenedBSD 11-STABLE is simple. Navigate to the latest build and download the installation media that suits your needs. The memstick image is suited for USB flash drives. Boot the installation media.
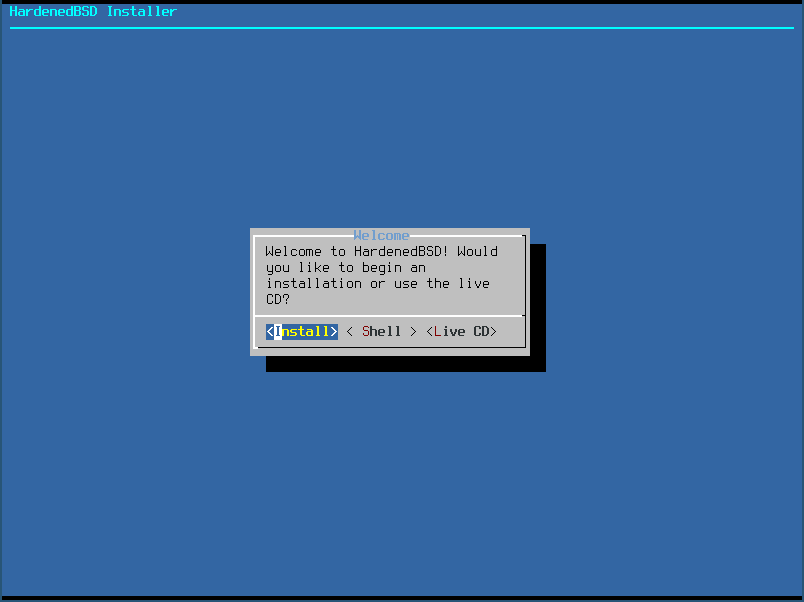
Installing HardenedBSD is simple. Follow the prompts. Sample screenshots are provided below:
- Select Install:
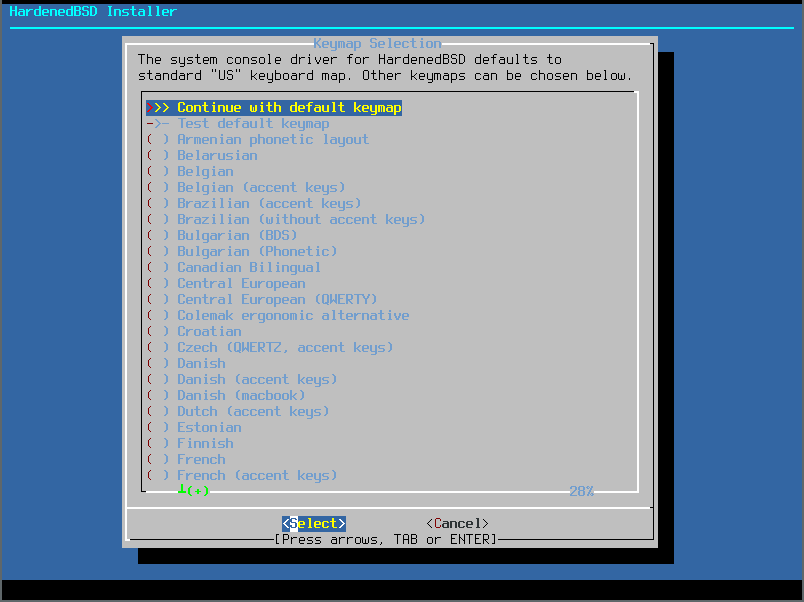
- Select your keymap. If you use a standard US English keyboard, the default is fine:
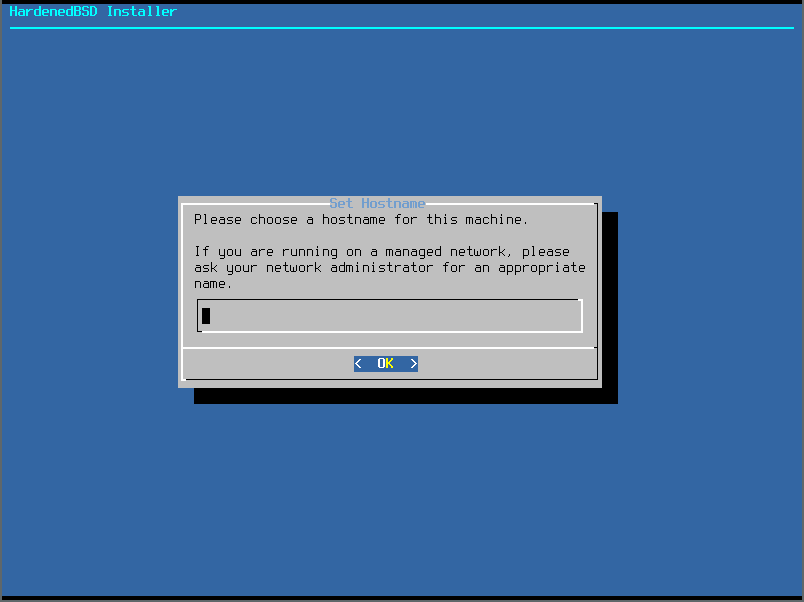
- Choose a hostname:
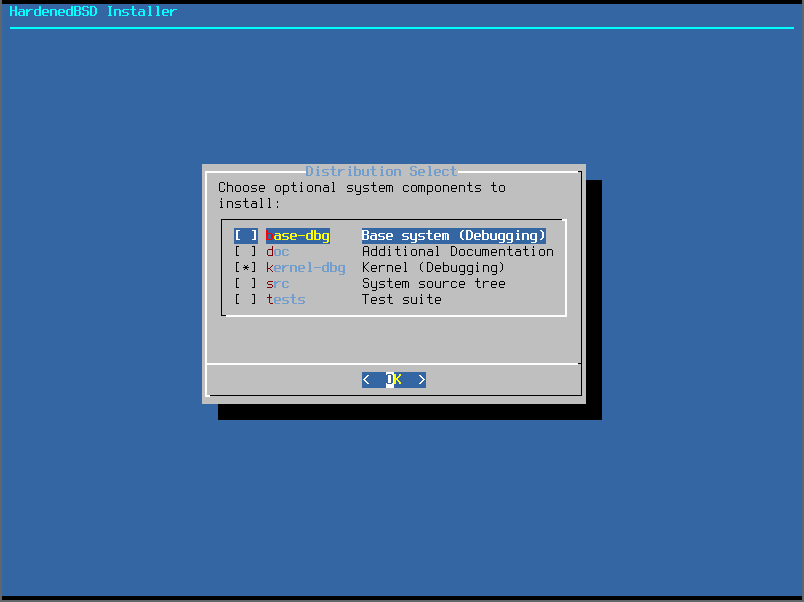
- Select the distribution sets to install:
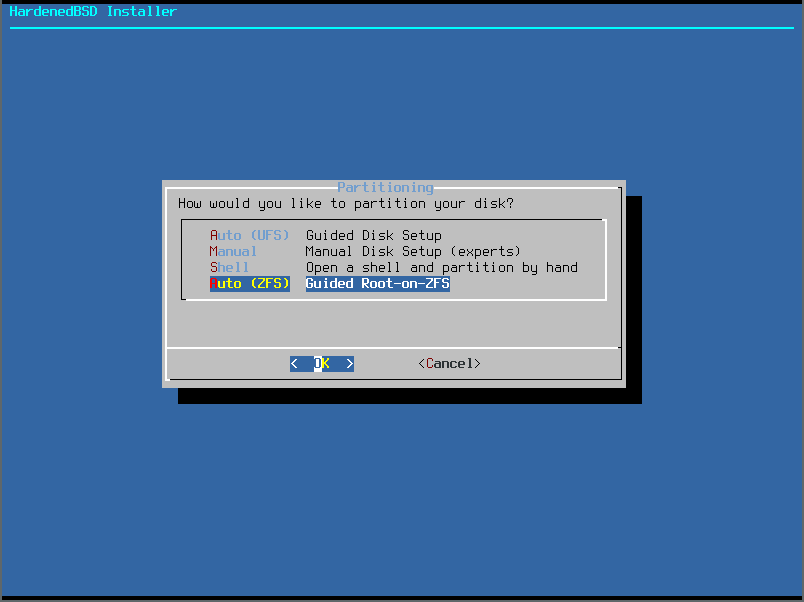
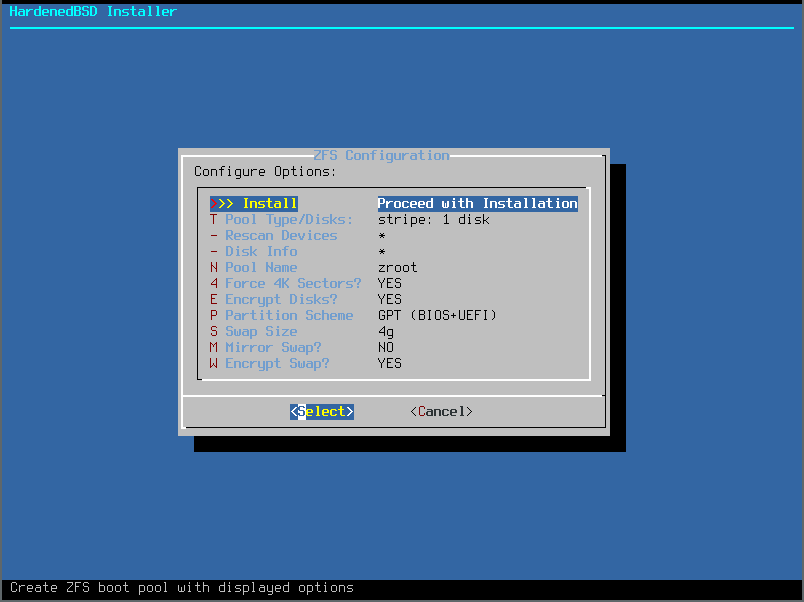
- Choose your filesystem. For purposes of this article, we’ll use ZFS for full-disk encryption:
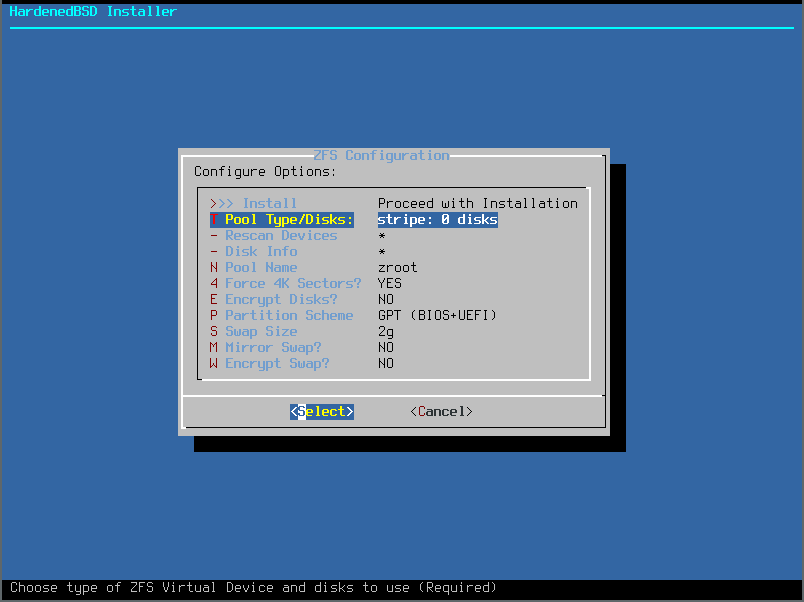
- Selecting the Pool Type will allow you to configure your ZFS pool the way you want. We will just use a single disk in this article:
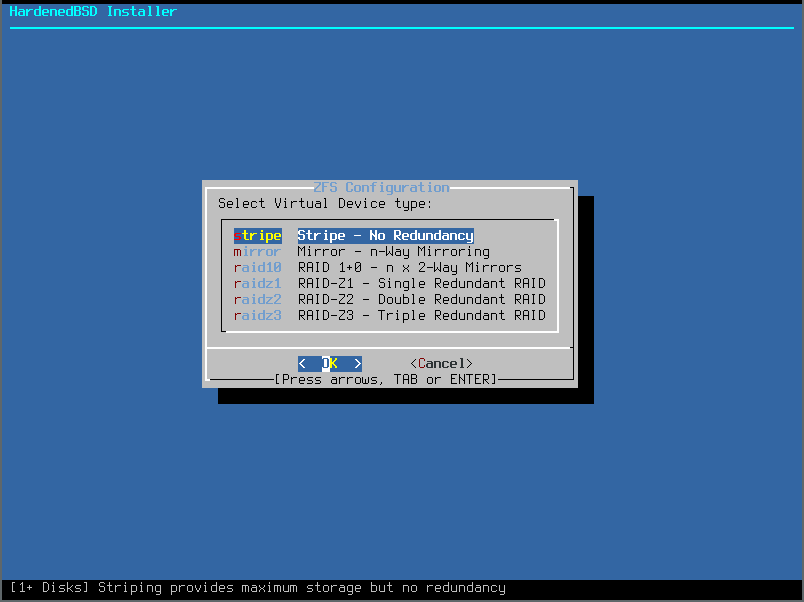
- Since we’re using a single disk, we’ll select the Stripe option:
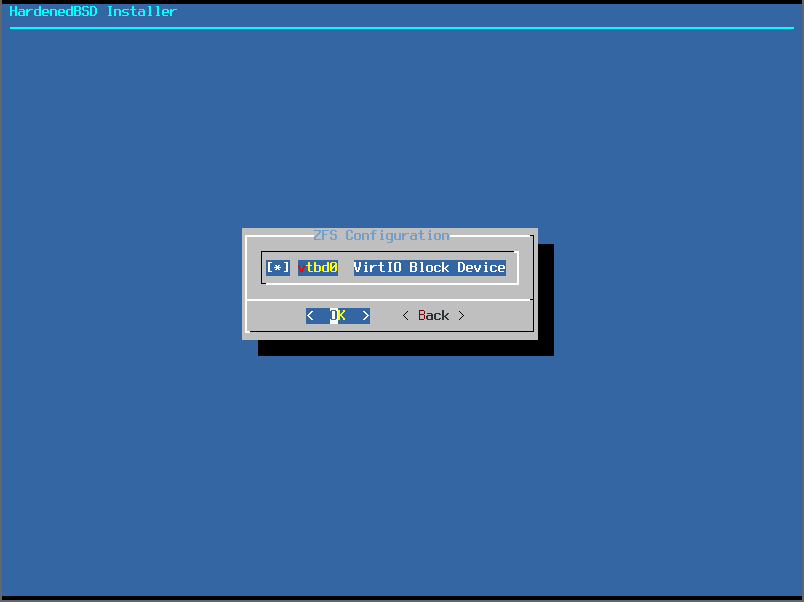
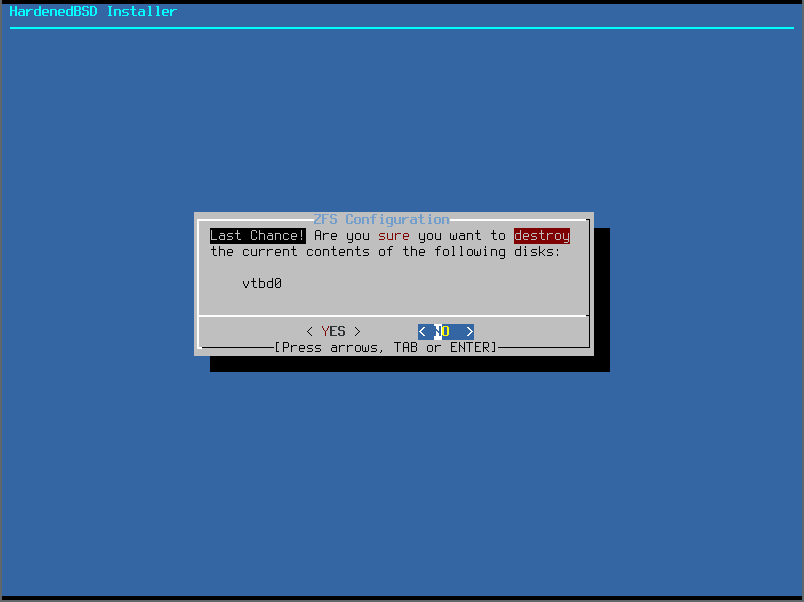
- Select the disks to use in the pool. Only a single disk for us:
- After selecting the disks, you’ll go back to the original ZFS setup menu. We’ve made a few changes (Encrypt Disks, Swap Size, Encrypt Swap):
- Review the changes:
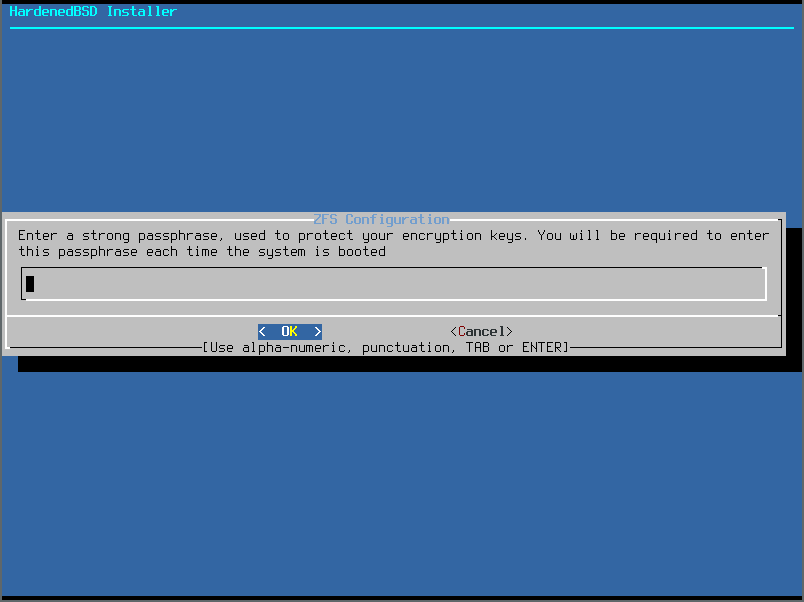
- Set the password on your encrypted ZFS pool:
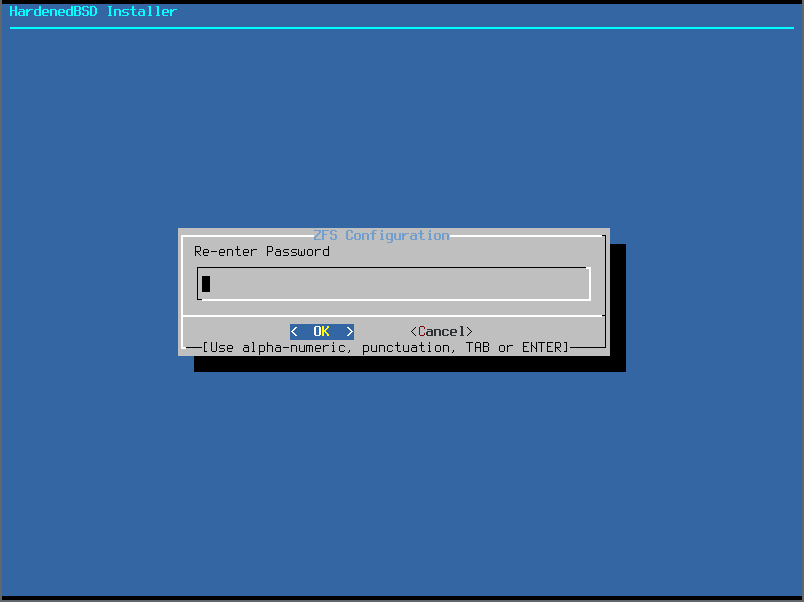
- Validate the password:
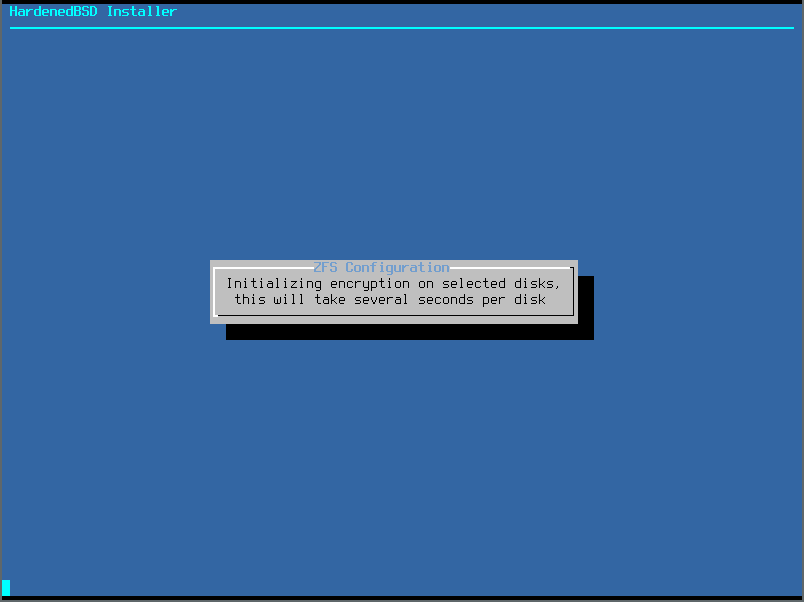
- Encrypted ZFS will initialize itself:
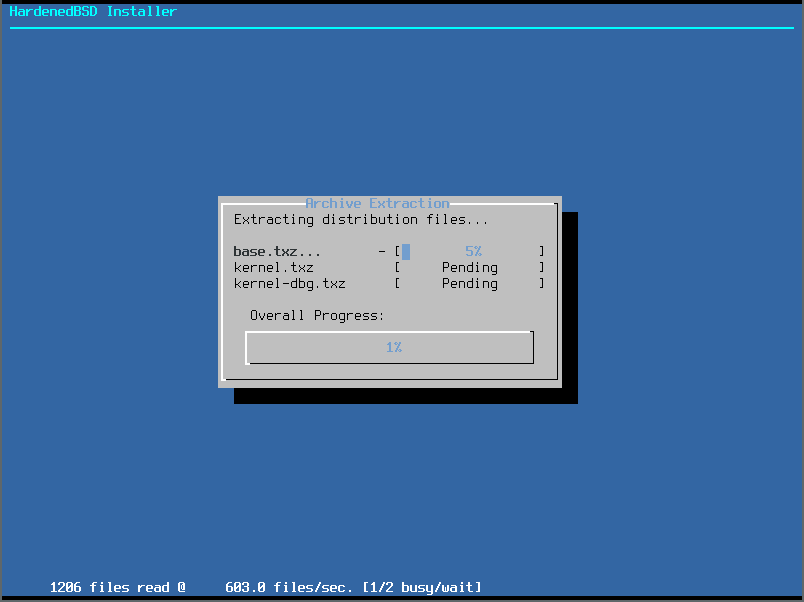
- HardenedBSD will now install distribution sets:
- Set the root password:

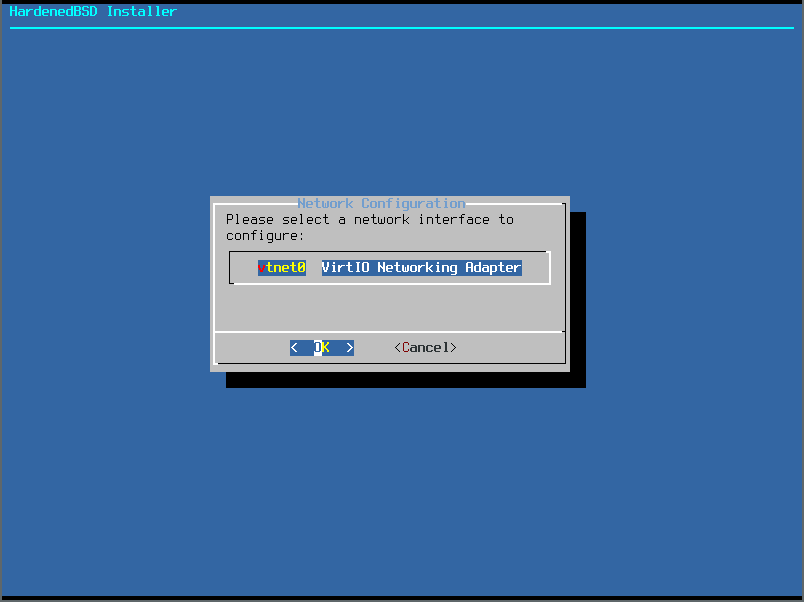
- If you want to set up networking, select the network device to configure. In this article, we’ll set up a dynamic (DHCP) network configuration:
- We want to use IPv4:

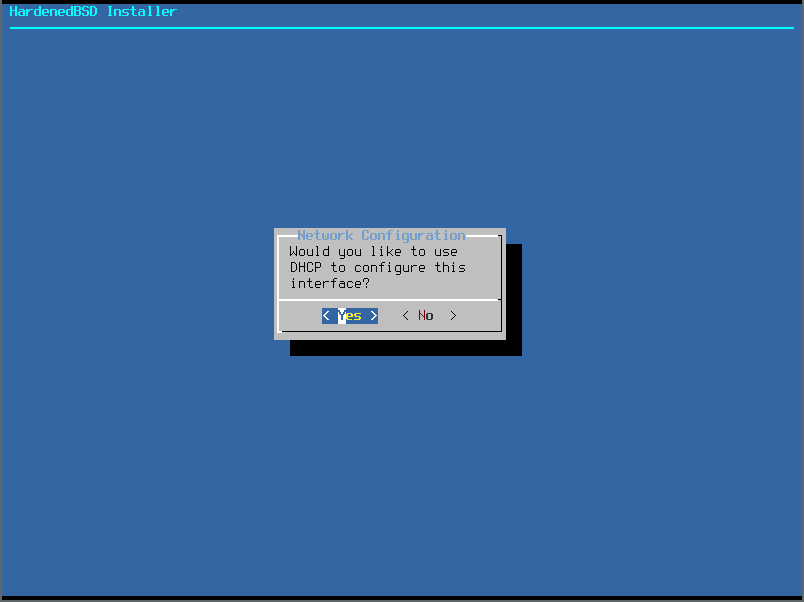
- We want to use DHCP:
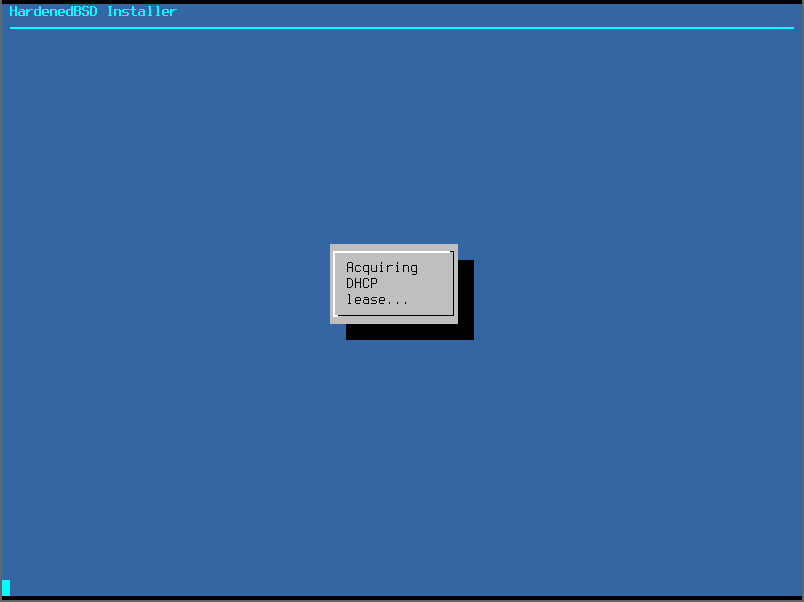
- It will try to acquire a DHCP lease:
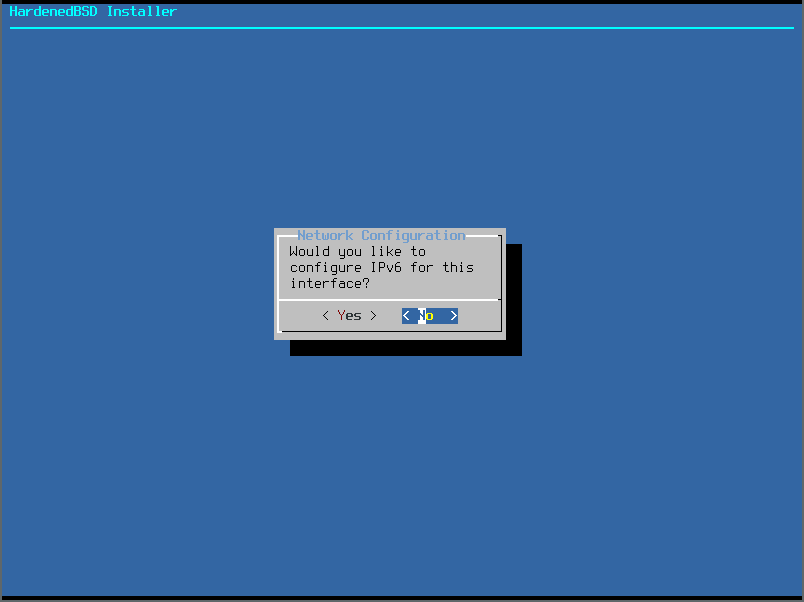
- At Emerald Onion, we put IPv6 first. However, in this example article, we won’t use IPv6 as it’s not currently available. So we’ll choose no when prompted to set up IPv6:
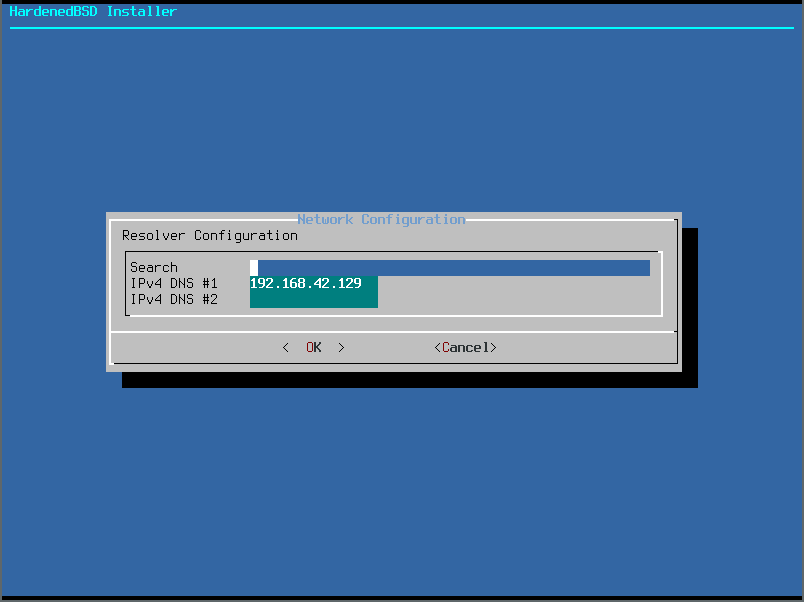
- Ensure the DNS information is correct and make any changes if needed:
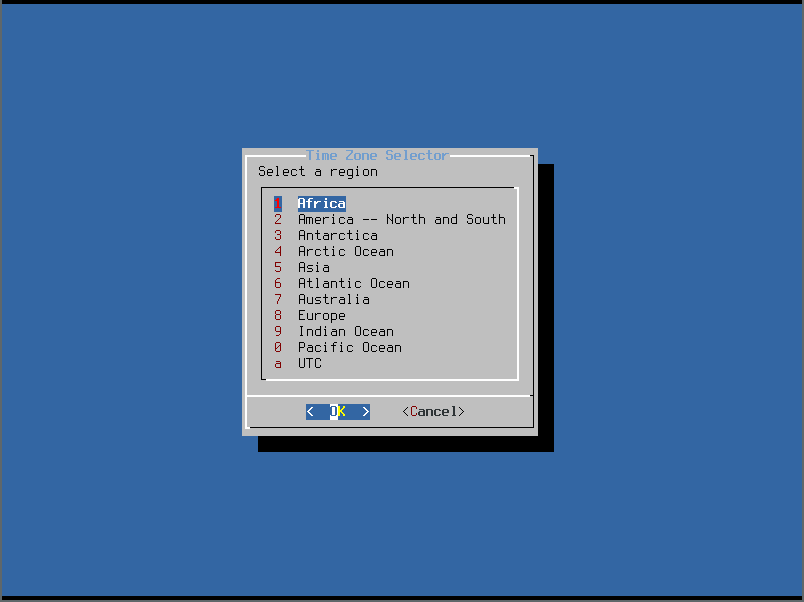
- It’s now time to choose the system timezone. Select the region:
- We chose America. We’ll choose United States for the country next:

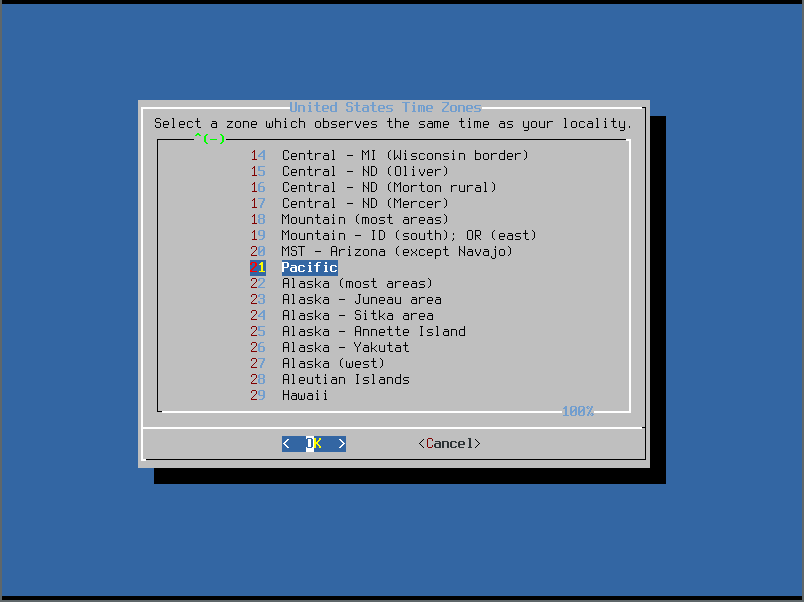
- Finally we’ll chose the actual timezone:
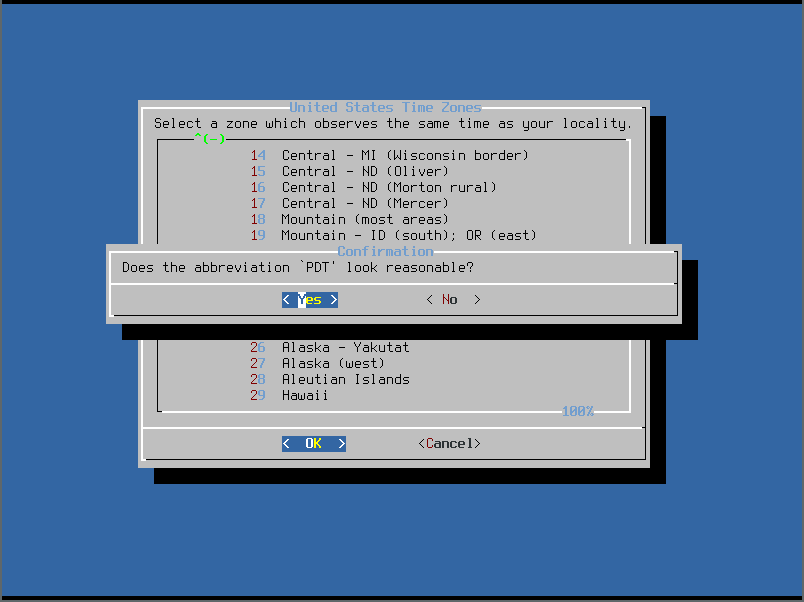
- Confirm the timezone:
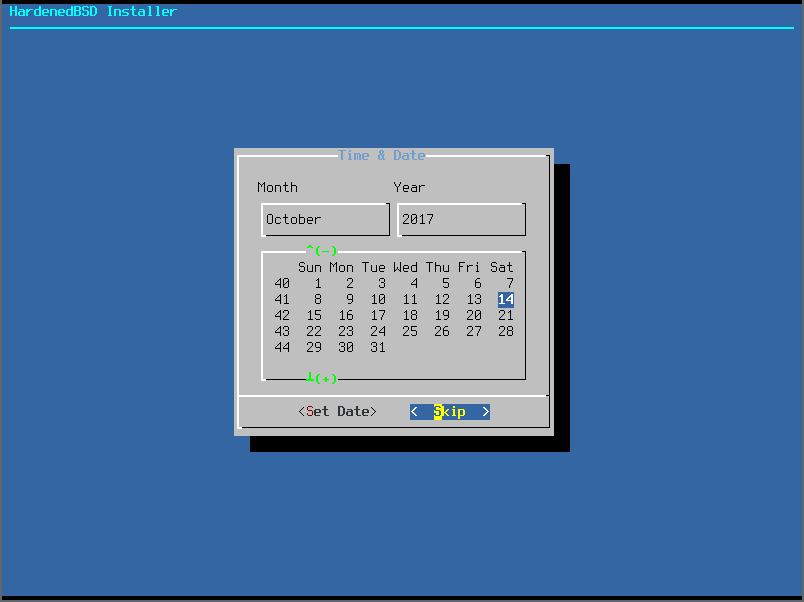
- Because we use NTP, we’ll skip setting the date:
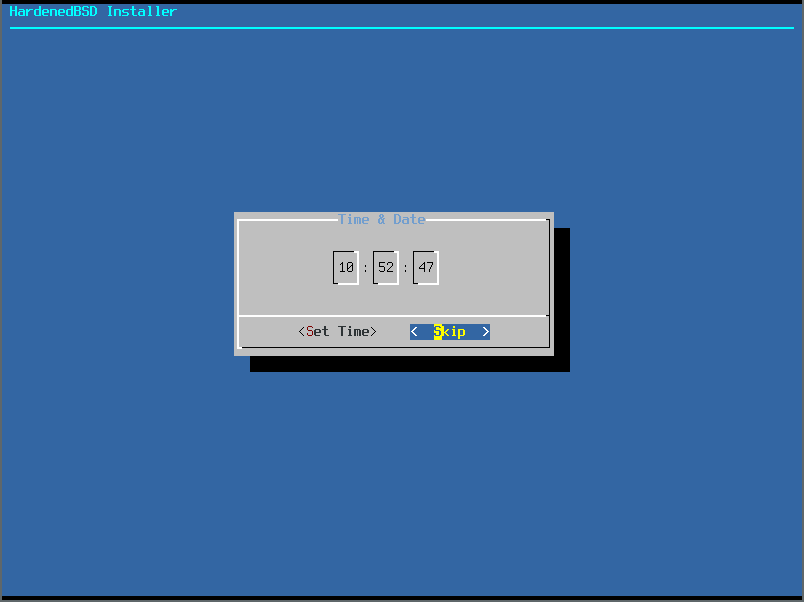
- We’ll also skip setting the time:
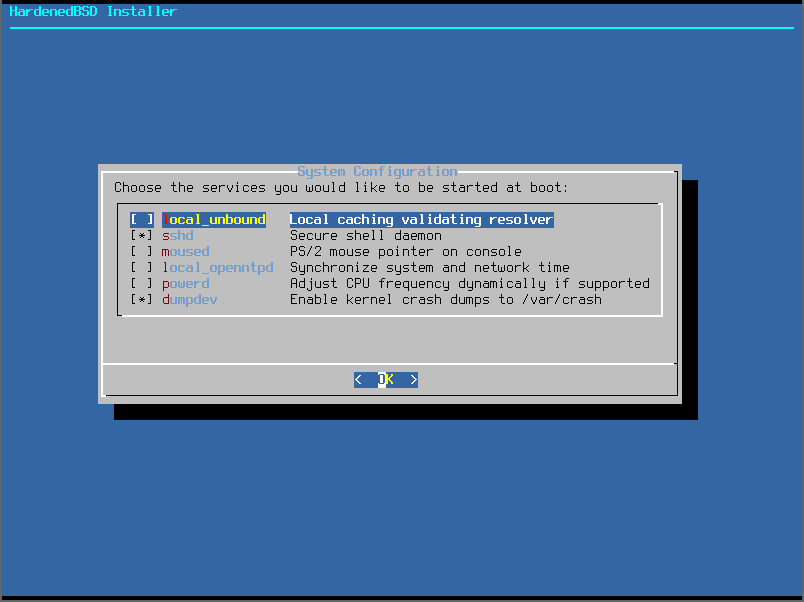
- Select the services to start at boot:
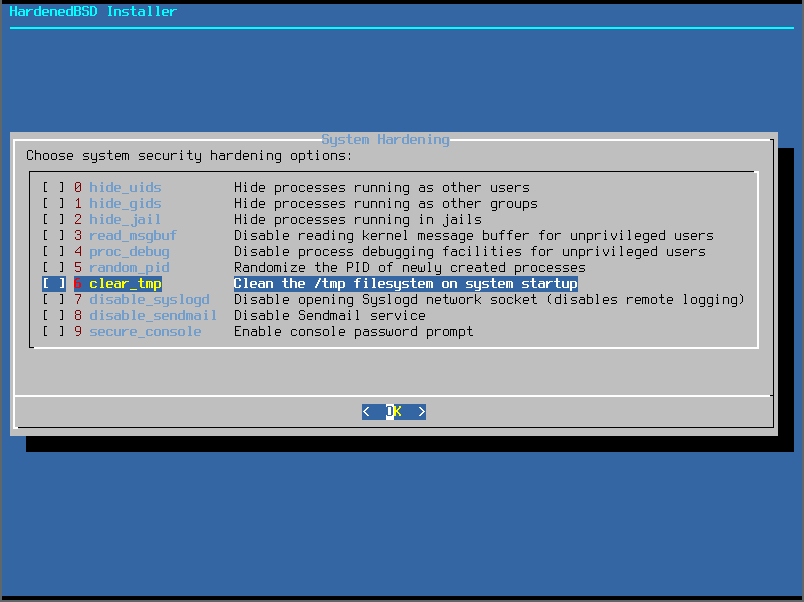
- Select the system hardening options. HardenedBSD sets options one through five by default, so there’s no need to set them here.
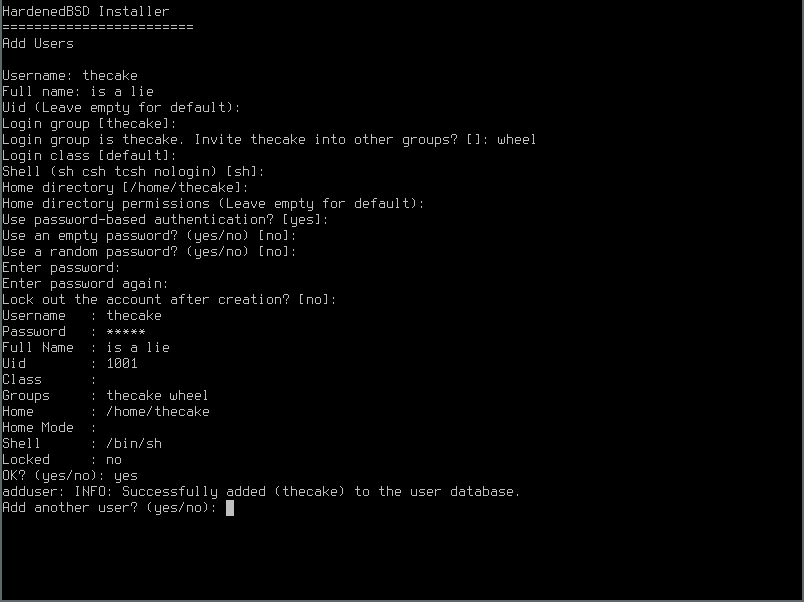
- We will go ahead and add an unprivileged user. Make sure to add the user to the “wheel” group for access to use the su program:

- Set the user’s details:
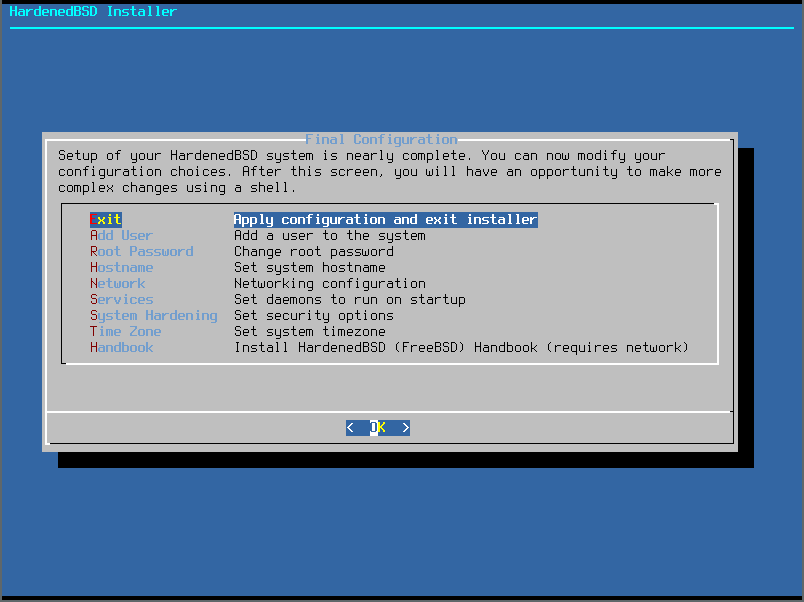
- HardenedBSD is now installed! Exit the installer. The installer will do things in the background so there may be some delay between exiting and the next prompt:
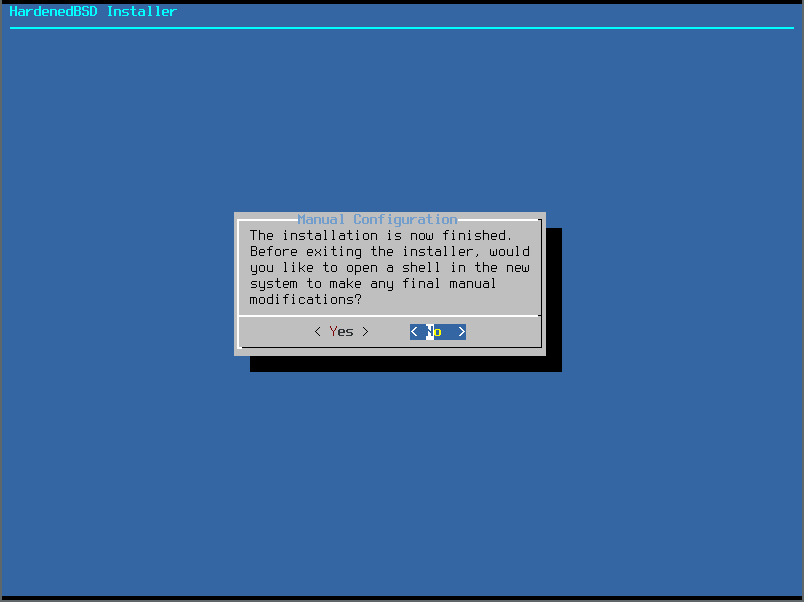
- We don’t want to make further modifications to the installation prior to rebooting:
- Go ahead and reboot:
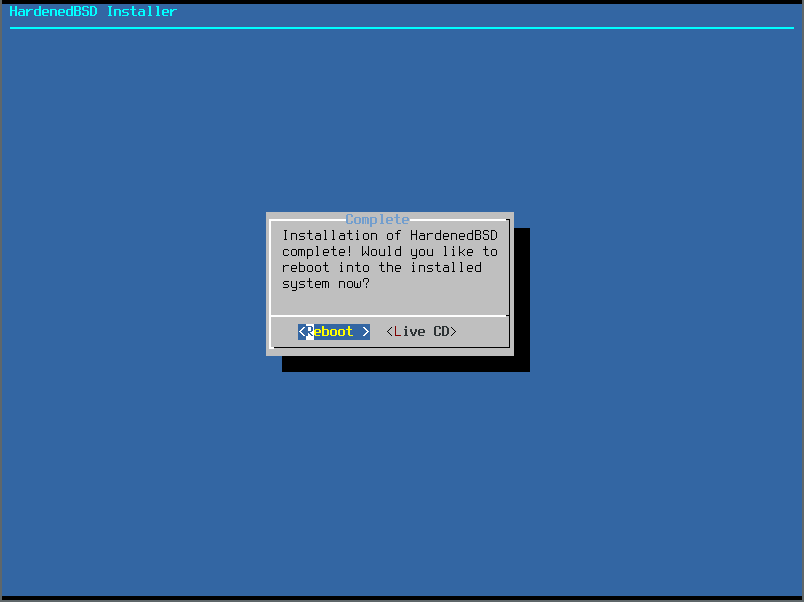
The installation is now complete!
Creating the Template Jail
02 Sep 2018: This section is not complete
We want to run multiple instances of Tor in the safest and most organized fashion available. Since we use ZFS, we’ll create a template jail, take a snapshot of the template, then clone the snapshot for our production Tor instances.
# zfs create -omountpoint=/usr/jails zroot/jails
# zfs create zroot/jails/templates/tor-exit
# hbsd-update -V -r /usr/jails/templates/tor-exit
# zfs snapshot zroot/jails/templates/tor-exit@baseinstall
# pkg -r /usr/jails/templates/tor-exit install tor
# pkg -r /usr/jails/templates/tor-exit install py27-nyx
# sysrc -R /usr/jails/templates/tor-exit tor_enable=YES
Now, we need to add additional IP addresses to the interface that we want these jails on. In our case, we’re using ix2.
# sysrc ifconfig_ix2_alias0="inet 23.129.64.103 netmask 255.255.255.0 alias"
# ifconfig ix2 inet 23.129.64.103 netmask 255.255.255.0 alias
Now, let’s set up our /etc/jail.conf file:
# cat <<EOF > /etc/jail.conf
exec.start = "/bin/sh /etc/rc";
exec.stop = "/bin/sh /etc/rc.shutdown";
exec.clean;
mount.devfs;
mount.fstab = "/etc/jail.fstab.$name";

path = "/usr/jails/$name";

template-tor-exit {
	path = "/usr/jails/templates/tor-exit";
        host.hostname = "template-tor-exit";
        ip4 = "inherit";
}
EOF
# touch /etc/jail.fstab.template-tor-exit
The Tor package on HardenedBSD, and its upstream FreeBSD, currently does not ship with a modified Tor configuration file, which can be found at /usr/local/etc/tor/torrc. Tor isn’t set up to log outside of initial startup messages. You will need to edit the Tor configuration file to suit your needs. Take a look at the tor(1) manpage for all the available configuration options.
We’ll populate our template Tor jail with a sample torrc that contains special replacement fields:
cat <<EOF > /usr/jails/templates/tor-exit/usr/local/etc/tor/torrc
Nickname 		%%NICKNAME%%
Address 		%%ADDRESS%%
ContactInfo		%%CONTACTINFO%%
Log notice file		%%LOG_NOTICES%%
OutboundBindAddressExit	%%IP4ADDR%%
OutboundBindAddressOR	%%IP4ADDR%%
DirPort			%%IP4ADDR%%:80
ORPort			%%IP4ADDR%%:443
ORPort			[%%IP6ADDR%%]:443
RelayBandwidthRate	%%BANDWIDTHRATE%%
RelayBandwidthBurst	%%BANDWIDTHBURST%%
MyFamily		%%FAMILY%%
IPv6Exit		%%IP6EXIT%%
SOCKSPort		%%SOCKSPORT%%

# TODO: parameter-ize these bits
ExitPolicy accept *:*
ExitPolicy accept6 *:*
EOF
Now that our template jail is set up, we need to snapshot it:
# zfs snapshot zroot/jails/templates/tor-exit@<code>`date '+%F'`</code>_01
Creating the Production Jail
Now that we have a template jail, we need to create the production jail:
# /bin/sh
# template=`zfs list -t snapshot -r -H -o name zroot/jails/templates/tor-exit | tail -n 1`
# zfs clone ${template} zroot/jails/tor-exit-001
The following script will allow you to modify the template torrc in the production jail:
#!/bin/sh

configpath=""

# Defaults
address="tor.emeraldonion.org"
bandwidthburst="1000 MBytes"
bandwidthrate="120 MBytes"
contactinfo="abuse_at_emeraldonion_dot_org"
ip6exit="1"
log_notices="/var/log/tor/notices.log"
nickname="EmeraldOnion"
socksport="0"

family=""
ip4addr=""
ip6addr=""

SED="/usr/bin/sed"

usage() {
	echo "USAGE: ${0} DOCUMENT ME, FOOLS!" >&2
}

while getopts "4:6:a:b:C:c:e:f:l:n:r:s:" o; do
	case "${o}" in
		4)
			ip4addr="${OPTARG}"
			;;
		6)
			ip6addr="${OPTARG}"
			;;
		a)
			address="${OPTARG}"
			;;
		b)
			bandwidthburst="${OPTARG}"
			;;
		C)
			contactinfo="${OPTARG}"
			;;
		c)
			configpath="${OPTARG}"
			;;
		e)
			ip6exit="${OPTARG}"
			;;
		f)
			family="${OPTARG}"
			;;
		l)
			log_notices="${OPTARG}"
			;;
		n)
			nickname="${OPTARG}"
			;;
		r)
			bandwidthrate="${OPTARG}"
			;;
		s)
			socksport="${OPTARG}"
			;;
		*)
			usage
			;;

	esac
done

if [ -z "${configpath}" ]; then
	echo "[-] Specify the path to the torrc config file." >&2
	exit 1
fi

if [ ! -f "${configpath}" ]; then
	echo "[-] Template torrc at ${configpath} does not exist." >&2
	exit 1
fi

if [ -z "${ip4addr}" ] && [ -z "${ip6addr}" ]; then
	echo "[-] At least one IPv4 or IPv6 address is required." >&2
	exit 1
fi

tmpfile=$(mktemp)
if [ -z "${tmpfile}" ]; then
	echo "[-] Could not create a temporary file." >&2
	exit 1
fi

${SED} \
    -e "s/%%ADDRESS%%/${address}/g" \
    -e "s/%%BANDWIDTHBURST%%/${bandwidthburst}/g" \
    -e "s/%%BANDWIDTHRATE%%/${bandwidthrate}/g" \
    -e "s/%%CONTACTINFO%%/${contactinfo}/g" \
    -e "s/%%FAMILY%%/${family}/g" \
    -e "s/%%IP4ADDR%%/${ip4addr}/g" \
    -e "s/%%IP6ADDR%%/${ip6addr}/g" \
    -e "s/%%IP6EXIT%%/${ip6exit}/g" \
    -e "s,%%LOG_NOTICES%%,${log_notices},g" \
    -e "s/%%NICKNAME%%/${nickname}/g" \
    -e "s/%%SOCKSPORT%%/${socksport}/g" \
    ${configpath} > ${tmpfile}

res=${?}
if [ ${res} -gt 0 ]; then
	echo "[-] Parsing the template torrc failed." >&2
	exit 1
fi

mv ${tmpfile} ${configpath}
Run the script with the proper parameters. Now you can add the new jail to /etc/jail.conf
# cat <<EOF >> /etc/jail.conf
tor-exit-001 {
        host.hostname = "tor-exit-001";
        ip4.addr = 23.129.64.103;
}
EOF
And now we can start up the jail:
# service jail start
Tor should now be running inside the jail!
Keeping HardenedBSD and Tor Up-To-Date
Updating HardenedBSD is simple with hbsd-update. We publish updates for base periodically. Feel free to use hbsd-update as often as you’d like to check for updates to the base operating system.
For example:
# hbsd-update
# shutdown -r now
To update your packages, including Tor, use:
# pkg upgrade
Tor Service Management Basics
The tor rc script uses SIGINT when shutting Tor down. This causes Tor to shutdown in an ungraceful manner, immediately halting connections from clients. Instead of using the traditional service tor stop command, directly issue SIGTERM to the instance you wish to stop.
# service tor status instance-01
tor is running as pid 70918.
# kill -SIGTERM 70918
If you’d like to stop all instances in a graceful way at the same time:
# killall -SIGTERM tor
In a multi-jail setup, you can tell the service command which instance you want to control by specifying the jail name with the -j option. For example, to reload the config file for tor-exit-001, issue the following command:
# service -j tor-exit-001 tor reload
If you want to reload the config file for all instances, simply remove the instance name from the above command. The rc script will issue the reload command across all instances.
If you’d like to look at an instance’s log file, you can use the tail command:
# tail -f /usr/jails/tor-exit-001/var/log/tor/notices.log
Future Work
We plan to switch to our own builds of HardenedBSD. This would allow us to create custom builds specifically tailored for use as a Tor relay. We will also maintain our own minimal package repo.